

Quick answer: clean architectural lines without cable damage
Rope lights deliver crisp 360-degree lines along rooflines, decks, and trees, but you must respect a minimum bend radius of 25–30 mm to avoid snapping internal wires. Mount rigid runs inside clear PVC channels or clips first, cut only at factory-marked intervals every 1–2 metres, and keep outdoor connector joins inside weatherproof IP54 boxes. When spiralling posts or palm trunks, maintain a neat 10–15 cm coil spacing and secure ends with black UV-stabilised cable ties for a clean, professional finish.
Why Rope Lights Belong in Every Display
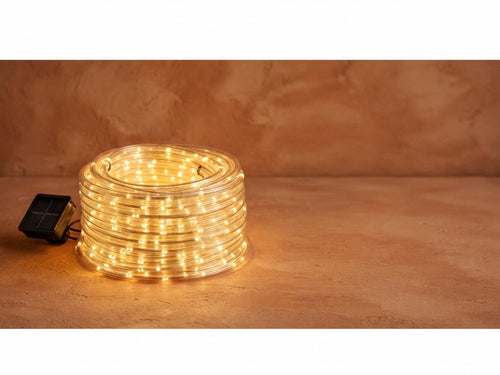
Of all the lights in the Christmas kit, rope lights are the ones that do the heavy architecture. They're LEDs sealed inside a flexible, weather-resistant PVC tube that glows a full 360 degrees — which means you don't hang them like fairy lights, you draw with them. Straight lines along a roofline, a spiral up a palm trunk, a crisp edge along a deck railing: one rope light makes the shape of your display.

They're also the toughest string in the box. The PVC jacket shrugs off summer UV and storm rain in a way bare strings can't, and because they mount rigidly, one well-placed run looks intentional and designer-made rather than draped.
The Ideas That Work Best on Australian Homes
Outline the Architecture
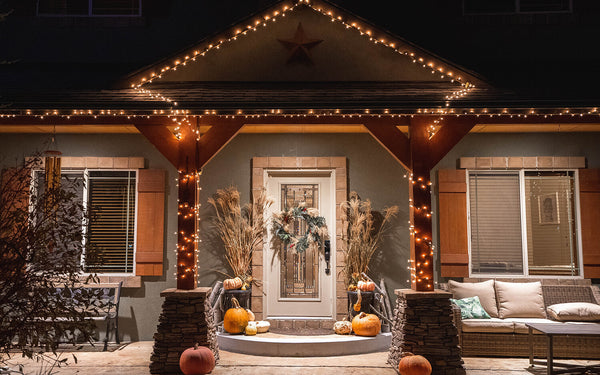
The classic use: follow the roofline, gutter edge, verandah beam or deck railing in one continuous glowing line. It's the single highest-impact move in any display — at night, your house reads as a crisp, lit silhouette. For laser-straight runs, mount the rope inside clear PVC mounting channels screwed to the fascia; the channel hides the fixings and keeps the line perfectly rigid.
Wrap Trees, Palms and Columns
Vertical features are where rope lights beat everything else. Verandah posts, garden columns and palm trunks wrapped in a steady spiral become glowing pillars that frame the whole display. Keep the coil spacing consistent — 10–15 cm between wraps reads as professional; uneven spacing reads as rush job.
Edge the Pathways
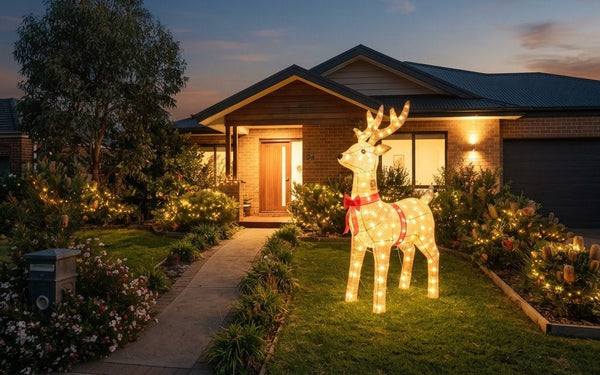
Run rope lights along a driveway, garden bed or front path using lawn stakes every 50 cm or so. It's practical (guests can see where they're walking), welcoming, and it ties the front garden into the display. Solar rope light is the natural choice here — no cables crossing the lawn.
Indoor Accents and DIY Motifs
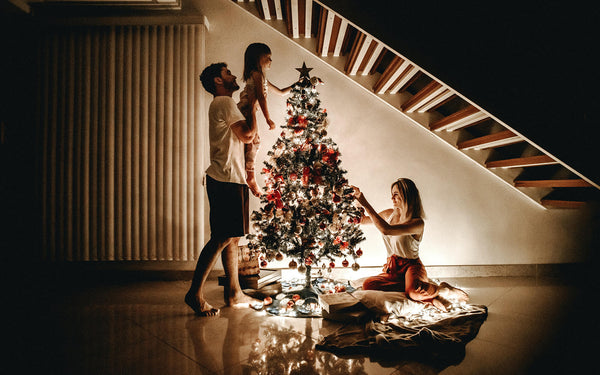
Inside, rope lights frame bay windows and mantels, trace a staircase balustrade, or bend into freestanding shapes — a star, a tree, a word — mounted on a wall or laid along a shelf. Battery-powered rope light is perfect for these: no cords, no heat, totally safe around the tree and soft furnishings.
- Buy one length grade longer than you think you need — rope light runs don't stretch, and joins mid-line break the clean line.
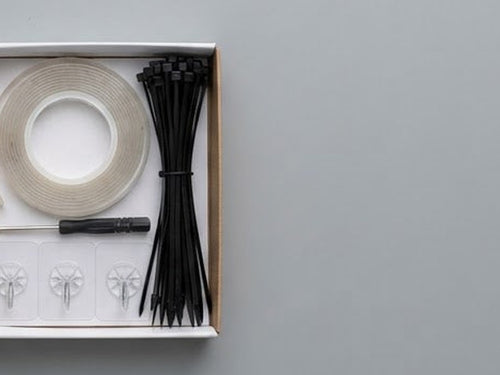
- White cable ties on timber fences; black UV-stabilised ones outdoors — white ones go brittle in one summer.
- Save the channels and clips in a labelled box: they're the reusable skeleton of next year's display.
- Warm white rope outlines + colour accents on features = the combination every professional display uses.
Choosing Your Power: Mains, Solar or Battery
One planning note: connectable mains rope lights can be joined with manufacturer-approved connectors up to the rated maximum run length (commonly 50–100 m). Stay inside that limit — the further past it, the dimmer the far end runs.
Mounting and Bending: The Rules
Rope lights are flexible, but they have limits you need to respect. The minimum bend radius is about 25–30 mm — fold one into a sharp crease and you'll break the internal wiring and void the warranty. Curves and spirals are fine; right-angle folds are not. For crisp corners, use a mounting channel or an approved corner connector instead of bending the tube.
- Plan the run and measure — outline first with a tape measure along the actual path the rope will take, then buy to that length plus a little slack.
- Mount the hardware first — channels or clips go on the surface, then the rope snaps in. Never fix the rope and try to add clips after.
- Feed, don't stretch — press the rope into the channel or clip along its whole length so nothing is under tension.
- Secure the ends — end caps and joins sealed with silicone, joins boxed and elevated if outdoors.
- Power up and walk the line — check for dark sections and any point where the rope pulls against a clip.
Can You Cut Rope Lights?
Only at the marked cut points — most rope lights print scissor marks every 1–2 metres. Cut anywhere else and you sever the series circuit, killing the whole section beyond the cut. If a shorter run is needed for an indoor motif, buy the right length or cut only on a marked line, then reseal the end with an approved end cap.
Weatherproofing for an Australian Summer
For outdoor runs, use IP65-rated rope for fully exposed positions (IP44 is fine under eaves and verandahs), keep every plug connection inside an elevated IP54 weatherproof box, and seal end caps with silicone to survive the afternoon storms. After each decent wind, walk the line and reseat any clips that have let the rope sag — a sagging rope flapping against a fence is how jackets wear through.
Pack-down is simple: coils come off their channels, get wiped down, coiled loosely (no tight wrapping around your hand — respect the bend radius even in storage) and boxed somewhere dark and cool. UV-stabilised rope stored properly will still be glowing five Decembers from now.
Christmas World stocks rope lights in mains, solar and battery power — in warm white and colour — plus the mounting channels, clips, connectors and end caps that turn a string into architecture.
Plan a polished rope-light display
Rope lights work best when they trace a shape rather than compete with every other decoration. Choose one main line, such as the edge of a garden bed, the outline of a low fence or the base of a feature tree, then decide where the run begins and ends. A tidy route is easier to install, easier to check and less likely to leave a tangle of excess light around a doorway.

Sketch the route before you uncoil
Walk the proposed path and note corners, gates, steps and places where people regularly walk or mow. Measure along the actual route, following bends instead of measuring straight across the garden. Leave the power or solar-panel position until last, so the cable or panel can sit where it is practical without forcing the lights into an awkward line. If you are comparing a solar set with a plug-in set, think about the panel's exposure and the location of the nearest suitable power point before settling on a layout.
Make the light part of the setting
On a fence, a straight run gives a crisp border; around a tree, a gentle spiral draws the eye upwards. Repeating the same spacing helps either look deliberate. At corners, turn the rope gradually within its product guidance rather than folding or sharply creasing it. Use the mounting method intended for the surface, and avoid pinching the tube under a door, pot or heavy garden object. Keep a little breathing space between the feature and nearby ornaments so the outline stays visible instead of becoming a bright tangle.

Check the effect after dark
Switch the display on before you finish dressing the area. View it from the footpath and from the main window, then adjust any dips or bright overlaps while the route is still accessible. A simple outline often looks more balanced than adding another strand. When the season is over, remove the rope without yanking the cable, let it dry if needed, and coil it loosely for storage. Keep its original connector and end-cap instructions with the set, as joining and trimming rules vary between products.
Frequently Asked Questions — Rope Lights
What's the difference between rope lights and strip lights?
Rope lights are LEDs sealed inside a round, heavy-duty PVC tube that glows 360 degrees — built for outdoor outlines and visible runs. Strip lights are flat circuit boards meant to be hidden, best for under-cabinet and cove lighting.
Can you cut rope lights to any length?
No — only at the factory-marked cut points, usually printed every 1–2 metres. Cutting anywhere else severs the series circuit and kills the rest of the run. Always reseal a cut end with an approved end cap.
How do you attach rope lights to a house or fence?
Clear PVC mounting channels for straight roofline runs, mounting clips on fascias, UV-resistant cable ties on timber fences, and lawn stakes along pathways. Mount the hardware first, then snap the rope in.
Can rope lights stay outside in the rain?
Yes, if the rope carries an IP65 or higher outdoor rating and every plug connection and end cap is sealed and housed off the ground in a weatherproof box. Sheltered runs under eaves are fine at IP44.
Are solar rope lights bright enough for Christmas displays?
Modern LED solar rope lights give vibrant accent light for pathways, fences and garden beds — provided the panel gets 6–8 hours of direct sun a day, positioned clear of eave and tree shade.
Do LED rope lights get hot?
No. LED rope runs cool, which makes it safe to wrap around living trees, timber decks and even synthetic garlands without heat damage.
How do you wrap a tree trunk with rope lights?
Start at the base, secure with a cable tie, spiral upward keeping consistent 10–15 cm spacing between coils, then secure the top end. One rope per trunk reads best — resist doubling up.
Can you join two sets of rope lights together?
Yes — connectable rope lights use manufacturer-approved male-to-female connectors, up to the rated maximum run length (commonly 50–100 m). Past that limit, the far end of the run dims.