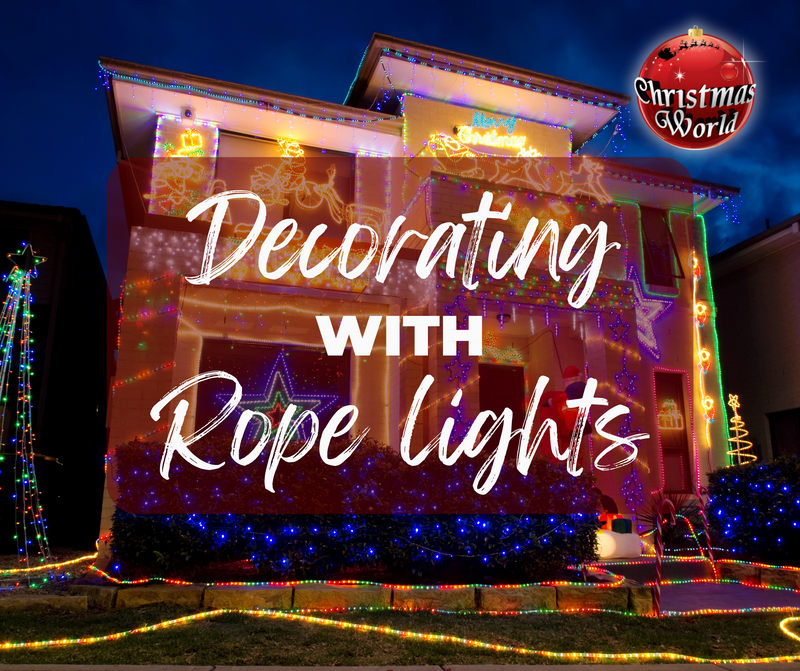
How To Attach Christmas Lights To Roof
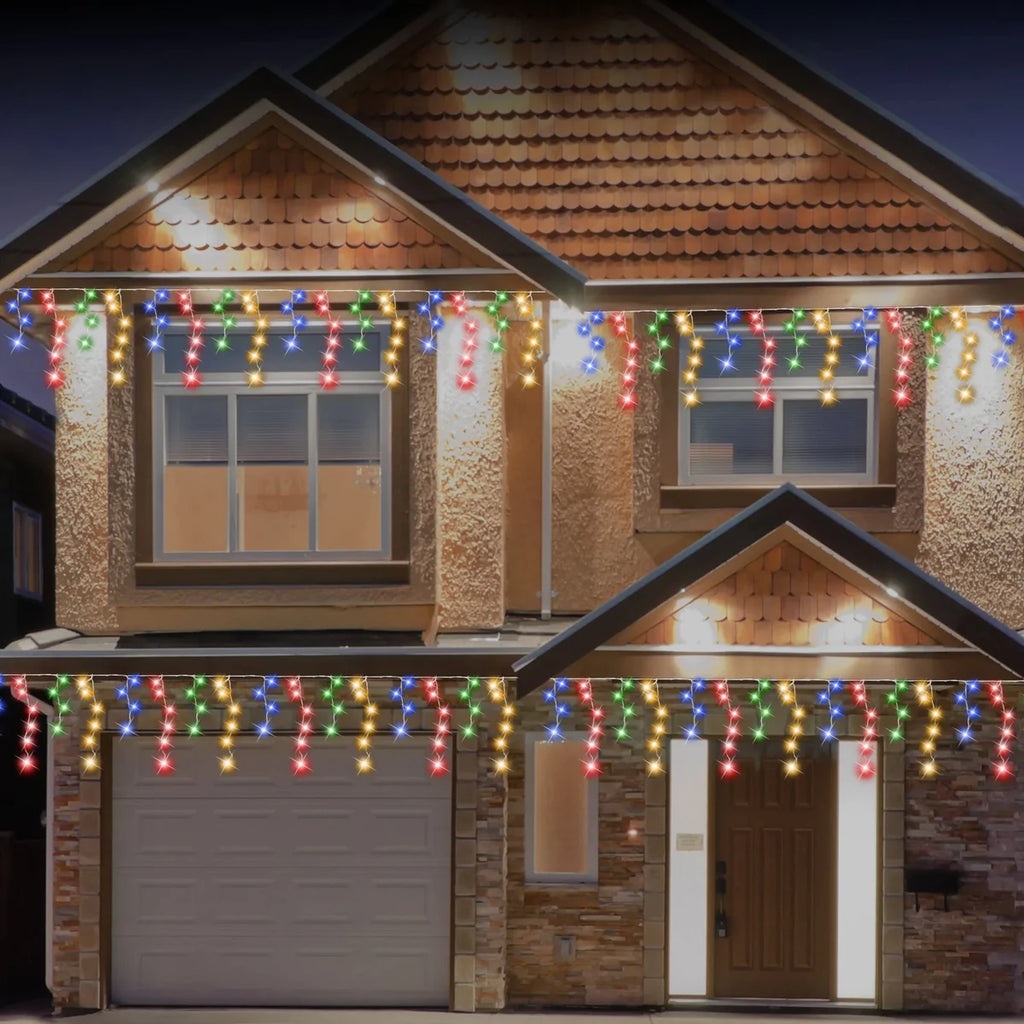

When the holiday season arrives, it's time to start decorating. If you're like most people, your interior is probably adorned with Christmas lights. But what about outside your home?
You may now be wondering how to attach Christmas lights to your roof to create a festive display outdoors without risking your safety or causing any damage to your roof. Luckily, you can easily attach Christmas lights to a roof using plastic clips.
A step-by-step to attaching Christmas lights to a roof using plastic clips
A budget-friendly way to attach Christmas lights to your roof is by using plastic clips. Just make sure you buy clips specifically designed for outdoor use. To set it up, you’ll need a ladder, plastic clips, a weatherproof box and a family member, neighbour or friend who can assist you during the day.
1. Make a plan
Before you even step on the ladder to attach Christmas lights to your roof, you should know exactly where you want everything placed and have the measurements to know if it will actually work.
Begin by locating your outdoor plugin. That’s where your starting point will be. Measure your roof and ensure you have enough lights and clips to correspond with that length. The best Christmas lights begin with a careful plan.
2. Prepare your supplies
You’ll likely be spending a considerable amount of time on the ladder. Having your supplies lined up and ready to go will help you save time. Make sure you have all the light strings and clips you’ll need to cover the distance and design you have planned. Remember that placing clips too far apart will leave you with saggy light strings that look less attractive.
3. Test the lights before you start
You don’t want to find out those new lights are defective when you’re standing at the top of your ladder. If wires are exposed, dispose of the entire string to avoid fire hazards.
4. Attach the clips
Since you have a plan already in place, you know how far your lights will reach. Attaching the light clips first will make hanging the lights a breeze. Carefully plant your extension ladder firmly on flat ground and extend it well above the eaves. Make sure your ladder is at a comfortable angle for climbing before you begin working. As you put the clips in place, ensure they’re all in the same direction. Place clips around 12 inches apart or as recommended by the manufacturer.
5. Hang the lights
When your clips are in place, start back at the beginning with your first string of lights. Whether you attach lights to your gutters or shingles, work strategically. Also, make sure your lights are pointing in the same direction. Avoid attaching strings of lights together ahead of time since shorter strings are easier to work with. Work along the roofline, making sure the line remains taut and in a straight line without pulling too tight since this can damage your lights.
6. Set a timer
Sure, your lights are spectacular — but you don’t want them staying on all night! Your light show could awake your neighbours and raise your electric bill. Plug your lights into an outdoor timer that will ensure you never forget to turn off the lights. Some outdoor timers even have light sensors that automatically turn your lights on at dusk. So, even when you aren’t home, you’re bringing the holiday spirit to your neighbourhood.
7. Flip the switch
It’s finally showtime. Gather the family outside to admire your handiwork when your job is complete. While waiting until dark to turn on your lights the first time will have the most dramatic effect, you probably don’t want to face the hassle of conducting potential repairs at night. Turn lights on once you’ve finished working to ensure everything goes as planned.
Safety tips to keep in mind when attaching Christmas lights to your metal roof
When it comes to decorating your home for the holidays, safety should always be a top priority. Attaching Christmas lights to a roof can be incredibly challenging, especially on windy or snowy days. However, with a few simple precautions, you can decorate your home safely and avoid any potential hazards:
- Inspect your light strings regularly for frayed wires or loose connections, and dispose of damaged strings immediately.
- Always use insulated staples or clips to attach the lights to the roof. This will help to prevent the flow of electricity through the metal.
- If you’re using Christmas lights that aren’t battery-powered, avoid using any extension cords that are not rated for outdoor use. Exposed wires can be a fire hazard, and using the wrong type of cord can create a shock hazard.
- Additionally, transformers and plugs are not waterproof, so must be they must be placed inside a weatherproof box to ensure they are not exposed to the elements.
- Ensure that your ladder is tall enough to reach the peak of your roofline and that it is placed on a firm, level ground. It's also a good idea to wear sturdy rubber-soled shoes when attaching Christmas lights to a roof, as it can help prevent slips and falls.
- When you’re standing on a ladder, never reach far enough to disrupt your centre of gravity. Instead, only work where you can reach comfortably before moving the ladder to the next position.
- Avoid using live trees or other flammable materials near the lights. If a bulb breaks or the cord becomes frayed, these materials can quickly ignite, leading to a dangerous fire.
Learning how to attach Christmas lights to your roof is a great way to create a festive display at home during the Christmas season. Once you take the time to learn all the details and collect the proper supplies, recreating the effect again and again will be simple.
Explore our selection of Christmas lights on Christmas World
At Christmas World, we have everything you need to make your home shine bright this holiday season. From traditional string lights to festive LED bulbs, we have a wide selection of Christmas lights to choose from. And for those who want to go all out, we also carry animated 3-D displays and inflatables. Browse our Christmas lights selection today and start making your home merry and bright!